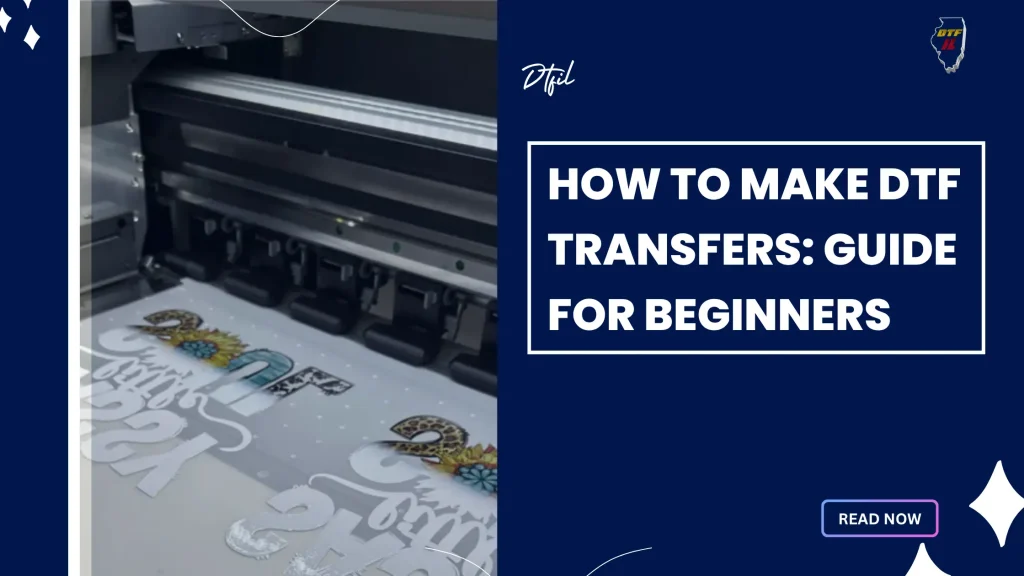
DIY DTF transfers have become a popular option for crafters seeking durable, vibrant designs on fabric right at home. This DTF transfer guide for beginners lays out a clear path from concept to finished garment. You’ll learn how to apply DTF transfers with a friendly, step-by-step approach that covers prep, DTF printing for beginners, and pressing. The guide also highlights practical tips for DIY heat transfers fabric, ensuring you choose the right fabrics and settings. By following the DTF transfer step-by-step process, you can produce professional-looking results on shirts, totes, and hoodies.
Beyond the marketing label, this process is often described as direct-to-film printing or film-to-fabric transfers, terms that help you locate compatible supplies and tutorials. Even with different names, DIY DTF transfers remain a versatile choice for beginners seeking durable, high-detail designs. In practical terms, think of it as a garment decoration technique that blends detail, durability, and color depth achievable with a home heat press. Rather than focusing only on the jargon, frame it as a film-based print method that uses an adhesive powder to bond designs to textiles. If you’re just starting out, concentrate on fundamentals like artwork prep, correct heat, time, and pressure to keep projects approachable while delivering crisp, long-lasting results.
Frequently Asked Questions
What are DIY DTF transfers and how can a DTF transfer guide for beginners help me get started?
DIY DTF transfers are a direct-to-film process where designs are printed on specialized film, coated with adhesive powder, and heat-pressed to fabric. A DTF transfer guide for beginners explains the workflow, advantages, and common setup steps, helping you plan from essential supplies to pressing. Start with basic supplies, design preparation, printing, powdering, curing, and pressing to achieve durable, vibrant transfers; if you don’t own a printer, you can outsource printing and focus on the pressing steps.
How do I apply DTF transfers using the DIY DTF transfers method?
To apply DTF transfers, pre-press the garment to remove moisture, place the transfer face-down, and press at the recommended temperature, time, and pressure. Use a Teflon sheet or parchment to shield the design, then peel hot or cold as directed by your film. Ensure proper alignment and finish with a brief post-press hold to seal the edges.
What supplies are essential for DIY DTF transfers (DTF printing for beginners)?
Essential supplies include a printer capable of printing on DTF film (or access to a service), DTF film sheets, white ink, adhesive powder with a shaker, a curing device, a heat press, Teflon sheets or parchment, design software, and a pre-washed garment. If you can’t print at home, you can outsource the printing step and still complete the pressing at home.
What is the recommended ‘DTF transfer step-by-step’ process for beginners doing DIY heat transfers fabric?
A typical DTF transfer step-by-step includes: mirror the design for face-down printing, print with white ink on DTF film, apply and cure adhesive powder, shake off excess powder, pre-press the garment, align the transfer, press at about 150–160°C (300–320°F) for 12–15 seconds with medium to firm pressure, then do a 2–3 second post-press hold. Follow your film’s instructions for hot vs. cold peel.
What are common issues and fixes when using DIY DTF transfers (DTF printing for beginners)?
Common issues include fading colors or dull whites, white edges around the design, ghosting, peeling after washing, and powder residue on fabric. Fixes: ensure the white underbase is properly printed and the film is fully cured, verify alignment during pressing, adjust time and pressure if needed, wash garments inside-out on gentle cycles, and keep equipment clean and calibrated.
| Aspect | Key Points |
|---|---|
| What DIY DTF transfers are and why beginners choose them | Direct-to-film printing; print on DTF film; adhesive powder; heat press transfers to fabric; advantages: detailed color, wide fabric compatibility, simpler workflow; supportive community. |
| Essential supplies | DTF printer or service; DTF film; white ink; adhesive powder; curing device or heat source; heat press; Teflon/parchment; design software; high-res artwork (300 dpi); pre-washed garments (cotton or blends). |
| Design prep | High-res artwork (≥300 dpi); proper garment sizing; mirror image; color management; white underbase for dark fabrics; save as PNG with transparency; layered designs for multi-color previews. |
| Printing and powdering | Print on film with white ink; apply adhesive powder while film is tacky; cure powder; shake off excess. |
| Garment prep | Pre-wash and dry garment; pre-press 5–8 seconds; align transfer using grid or tape; ensure flat surface. |
| The press: heat, time, and pressure | Typical starting values: 150–160°C (300–320°F); 12–15 seconds; medium to firm pressure; post-press 2–3 seconds hold. |
| Peeling and finishing | Hot peel common; peel while warm; some films require cold peel; rework with steam or additional press if ghosting. |
| Troubleshooting | Fading colors; white edges; peeling after washing; powder residue; fixes: ensure underbase, alignment, cure time; wash inside-out. |
| Care, maintenance, long-term tips | Pre-wash garments; wash inside-out; avoid bleach; store films in cool dry place; test on fabrics; keep equipment clean and calibrated. |
| Practical sample project for beginners | Logo on a cotton T-shirt; high-contrast design; print, powder, cure; press; peel; practice to gain confidence. |
| Why DIY DTF transfers are great for beginners | Control, practicality, and quality; multi-color capability; cost-effective practice; build foundation; experiment with brands, powders, and settings. |
Summary
DIY DTF transfers empower beginners to create professional-looking designs with durable adhesion on fabrics. This approach blends accessible equipment, versatile materials, and a forgiving workflow to produce vibrant, long-lasting prints on cotton and blends. By mastering design prep, color depth with white underbase, precise powdering and curing, careful heat pressing, and smart finishing, hobbyists can expand their repertoire and bring personal artwork to apparel and bags. Start with simple projects, document settings and results, and gradually tackle more complex designs and fabrics. With patience and experimentation, you can build a growing library of custom items using DIY DTF transfers.