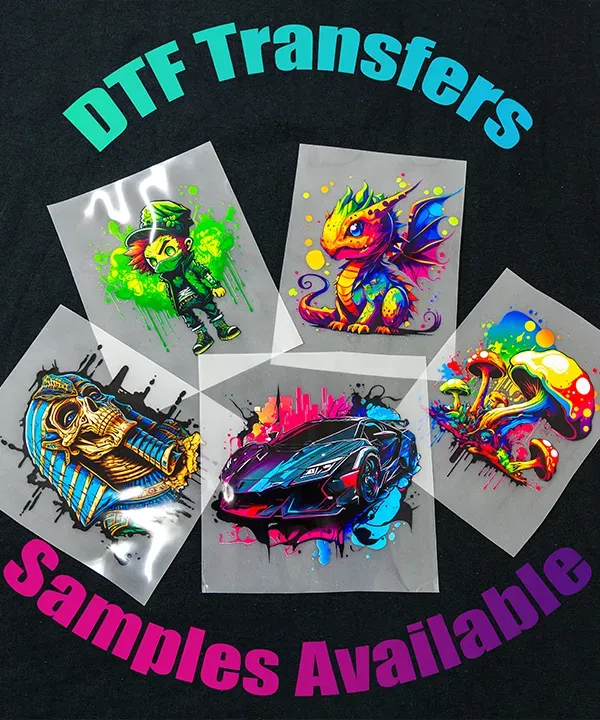
DTF transfers have transformed garment decoration, making vibrant designs easier to apply across fabrics, from tees to bags and beyond. If you’re looking for how to apply DTF transfers, this guide provides clear, repeatable steps for consistent results with real-world workflows. You will explore DTF transfer techniques, material selection, and practical tips to maintain color and adhesion over dozens of washes. This overview also covers DTF heat press guidance and how to avoid common DTF transfer mistakes through careful calibration and testing. From testing fabrics to finishing touches, this content is designed for hobby crafters and small businesses seeking durable DTF printing on textiles.
Beyond the buzzwords, this technique is often described as digital textile transfer or film-based adhesive transfer, where a printable sheet adheres to fabric with heat. Similar terms you may encounter include heat-press graphics and garment decoration using polymer-based transfer films, all aimed at durable visuals on textiles. The core idea remains the same: prepare the fabric, apply a heat-activated bond, and finish with a light cure to lock in color and texture. By using these alternative descriptors, you align with Latent Semantic Indexing (LSI) concepts that signal related topics like substrate compatibility, adhesion quality, and wash durability.
Understanding DTF transfers fundamentals: from film to fabric
DTF transfers rely on a layered workflow that starts with film, adhesive powder, and a curing process before heat pressing. Understanding these layers helps you predict how color, texture, and edge fidelity will behave on different fabrics. The core idea behind DTF transfer techniques is to balance printable artwork with a film-substrate that bonds under heat and pressure, creating vibrant, durable results on textiles.
When you learn how to apply DTF transfers, you gain control over factors like print density, color gradients, and edge definition. This section also highlights why choosing the right film and powders matters and how the heat press stage becomes the turning point for adhesion, heat transfer, and wash durability. You’ll see how DTF printing on textiles can vary by fabric type and how alignment and pre-press steps influence the final outcome.
Selecting materials and setup for reliable DTF transfers
Material selection sets the foundation for repeatable success. Choose a compatible printer with DTF inks, a trusted transfer film, adhesive powder, and a finishing area that keeps dust away from the print. Alongside the hardware, consider the fabric’s fiber content because it influences adhesion and color reproduction, tying into broader DTF transfer techniques and how to optimize the process across textiles.
Test prints and material trials help uncover subtle interactions between films, powders, and fabrics. This is where you explore the practical side of how to apply DTF transfers, refine your setup, and build a small library of go-to combinations. Being systematic about which film and powder you use reduces common mismatches and improves consistency across orders.
Step-by-step application protocol for consistent results
Step-by-step application protocol focuses your workflow and minimizes variables. Print, trim close to the design edge, then pre-press to remove moisture and flatten fibers. Position the transfer with careful alignment, cover with a teflon sheet, and press at the recommended temperature and dwell time. This paragraph emphasizes DTF heat press guidance as the crucial moment when color fidelity and edge sharpness are locked in.
After the press, observe the peel method, whether hot or cold, and factor in post-press finishing to set the bond. Maintaining steady pressure, consistent dwell times, and a flat garment ensures durability. These steps illustrate how to apply DTF transfers reliably, reinforcing the importance of consistent procedure and repeatable results across different designs.
Troubleshooting and avoiding common DTF transfer mistakes
Common DTF transfer mistakes typically involve uneven heat, inadequate pressure, or poor alignment that leads to edge lifting or color bleeding near seams. Understanding these pitfalls helps you apply DTF transfers more confidently and reduces waste from failed pieces. This discussion touches on values like coverage, read-through, and warping that can arise when parameters drift away from recommended ranges.
To avoid mistakes, rely on precise calibration, test pieces, and documented settings for each fabric type. Re-check heat, pressure, and dwell time, and ensure the garment is flat before pressing. Troubleshooting also includes verifying cure times and washing guidance to prevent early adhesion failure and color loss after the first few washes, aligning with DTF heat press guidance and common pitfalls.
Curing, finishing, and long-term durability of DTF printing on textiles
Curing, finishing, and post-press care transform a good transfer into a durable garment. Allow adequate cure time, avoid rushing handling, and use protective coverings that shield the print during the initial cooling period. Adhering to established wash guidelines helps preserve vibrancy and adhesion, which are central to long-term durability in DTF printing on textiles.
Ongoing workflow improvements include documenting successful parameter sets, creating a standardized pre-press routine, and scheduling regular maintenance of your heat press and alignment tools. By treating each project as a repeatable process, you improve efficiency and consistency while maintaining color fidelity through repeated washing cycles, reinforcing best practices for how to apply DTF transfers in a production environment.
Frequently Asked Questions
How to apply DTF transfers effectively for durable results?
To apply DTF transfers, follow a repeatable workflow: prep the garment (pre-wash or pre-dry) and ensure a flat surface; perform a light pre-press to remove moisture and smooth the fabric; align the transfer precisely using guides or tape; cover with a teflon sheet and press at 160–170°C (320–340°F) with steady, even pressure for 12–15 seconds; then peel the carrier (hot or cold depending on film) and finish with a short post-press to set the bond. If possible, allow about 24 hours of cure before washing. Testing on similar fabric helps verify color fidelity and adhesion before proceeding with multiple items.
What are the key DTF transfer techniques for achieving sharp prints?
Key DTF transfer techniques include selecting the right film and adhesive powder, trimming close to the image edge to minimize edge anomalies, performing a pre-press to flatten the garment, using alignment aids to position the design precisely, and applying controlled heat and dwell time. Use a test print to dial in temperature, pressure, and time for your fabric and film, and decide on hot vs cold peel based on the film and design. Finish with a post-press step to lock the bond and maintain edge clarity across projects.
What is the best DTF heat press guidance for different fabrics?
DTF heat press guidance typically starts with 160–170°C (320–340°F) for 12–15 seconds, using firm, even pressure and a protective teflon sheet. Always pre-press to reduce moisture and wrinkles, and align the transfer carefully before pressing. For heavier fabrics, slight adjustments to dwell time or pressure may be needed after testing on similar materials. Ensure full adhesion before handling and consider a brief post-press if your equipment supports it.
What are common DTF transfer mistakes to avoid?
Common DTF transfer mistakes include uneven heat distribution, insufficient pressure, peeling during the first wash, color bleeding near seams, and misalignment. Prevent these by using the correct heat press parameters for your film, keeping the garment flat and wrinkle-free, and performing test runs to dial in temperature, pressure, and dwell time. Verify the transfer is fully adhered before moving the garment, and maintain a clean workspace to avoid dust or fibers affecting the print.
How does DTF printing on textiles work, and how should I prep and finish for best results?
DTF printing on textiles enables detailed artwork and vibrant colors across a wide range of fabrics, but it requires careful film selection, adhesive powder, and curing. Prep by pre-washing, pre-drying, and pressing the garment flat; print and trim the transfer with a small margin; then follow with pre-press, precise alignment, cover with a teflon sheet, press at the recommended settings, perform a peel, and finish with a post-press step. For durability, turn the garment inside out for washing, use cold or warm water, and air-dry when possible. By adhering to these steps, you’ll maximize color fidelity and wash longevity of your DTF printing on textiles.
| Aspect | Key Point |
|---|---|
| What DTF transfers are | A system using a specialized film, adhesive, and printable inks that bonds vivid designs to textiles during heat application; supports detailed artwork, a wide color range, and flexible placement on fabrics. |
| Core materials | DTF printer with compatible inks, heat press, DTF transfer film, adhesive powder, curing/finishing area, teflon/parchment sheets, alignment aids, and a suitable garment; test prints help color accuracy. |
| Preparing the garment and design | Pre-wash or pre-dry the garment to remove finishes; press to reduce wrinkles; size and orient the design for placement; run a test print on similar fabric to verify color and transfer behavior; verify appropriate film and technique for your machine. |
| Step-by-step application (overview) | Print and trim with a high-quality print; pre-press the garment; position the transfer with alignment aids; cover with a teflon or parchment sheet and press at about 160–170°C (320–340°F) for 12–15 seconds with steady pressure; peel the carrier hot or cold depending on film/design; perform a post-press finish to set the bond. |
| Quality checks and finishing | Cool and inspect for hotspots, lifted corners, or edge issues; re-press or re-test as needed; allow a ~24-hour cure when possible to maximize wash durability. |
| Troubleshooting common issues | Address uneven heat, insufficient pressure, or color bleeding; use test pieces to dial in settings; keep the garment flat and wrinkle-free until adhesion is complete. |
| Durability and care | Follow standard washing guidelines; turn the garment inside-out; use cold or warm water; air-dry when possible; if using a dryer, select low heat and remove promptly to preserve color and adhesion. |
| Tips for efficiency and consistency | Test on the same fabric type; standardize press setup and dwell time; log settings for different fabrics; maintain a clean workspace; train team members to ensure repeatable results. |
Summary
Table shown above summarizes the key points of the base content about DTF transfers in English.