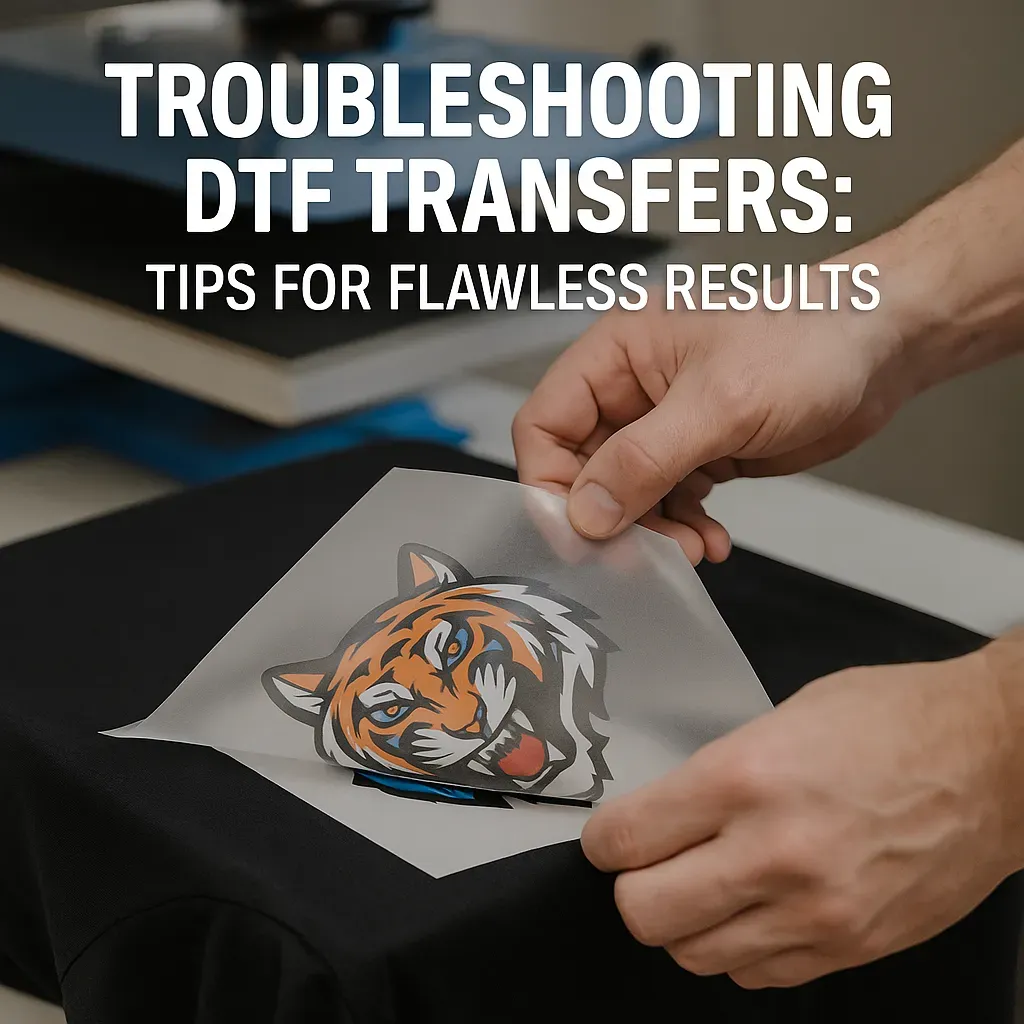
DTF transfers troubleshooting is a skill that saves time and money. When a DTF transfer doesn’t print or perform as expected, the issue is rarely the film or the machine alone, and spotting the root cause is where the real savings begin. This guide covers practical remedies for common DTF transfer problems, DTF printing troubleshooting, and how to fix DTF transfers, focusing on print quality, curing, heat-press parameters, and fabric compatibility. By following a repeatable, diagnostic workflow, you can quickly identify whether the fault lies with the DTF heat press issues, adhesive performance, or fabric compatibility and apply targeted fixes. You’ll also find a concise DTF transfer troubleshooting guide embedded in the steps, helping you standardize processes for future runs.
In the next section, we reframe the same topic with alternative terms aligned to Latent Semantic Indexing principles that strengthen semantic connections. Terms like direct-to-film troubleshooting, film-to-fabric transfer issues, and print workflow optimization help you see how each step—from design to curing to pressing—fits into a reliable process. By broadening the vocabulary to include process-related phrases, you can improve topic relevance and guide readers toward the core practices that deliver consistent results. Ultimately, the goal is to translate the insights from troubleshooting into repeatable actions that minimize errors and maximize garment quality.
DTF transfers troubleshooting: A practical, repeatable workflow for consistent results
A structured, repeatable troubleshooting workflow helps teams cut through uncertainty in DTF transfer problems. By validating design, print quality, and color profiles before pressing, you isolate variables and apply targeted fixes. This approach is central to DTF printing troubleshooting because it emphasizes the printing stage’s role in overall transfer performance and reduces misattribution of problems to the film or heat press.
Follow steps like standardized pre-press, powder adhesion and curing, and calibrated transfer settings to achieve reliable results. Documenting each test—settings, fabric type, and film batch—builds a historical record that makes future DTF transfers troubleshooting faster and more predictable, and aligns with a DTF transfer troubleshooting guide.
Diagnosing common DTF transfer problems: from film to fabric
Many DTF transfer problems originate at film compatibility, powder quality, or fabric type. Inspect each stage: film cleanliness, adhesive powder uniformity, and curing consistency. Recognize patterns such as color fading, cracking, or halos, and link them to specific causes described in DTF transfer problems; this forms the basis of DTF printing troubleshooting.
Use a controlled testing protocol to isolate variables: run identical prints with different film batches, test different curing times, or adjust pre-press. This aligns with the how to fix DTF transfers mindset and yields actionable insights for heat press settings and adhesion.
Optimizing heat press parameters to solve DTF heat press issues
Heat press parameters are a frequent culprit in DTF heat press issues. Temperature, time, and pressure must be tuned to the fabric and adhesive powder in use. Start from manufacturer guidelines and run controlled experiments to map the relationship between press time and adhesion quality, noting how small changes affect outcome.
This optimization process is a core element of DTF printing troubleshooting because heat-related problems often masquerade as film or ink issues. Documenting the press window that yields best results helps you craft a robust DTF transfer troubleshooting routine and reduces repeat incidents across batches.
DTF printing troubleshooting: optimizing printer, film, and powder workflow
Printer quality sets the stage for successful transfers. Check print resolution, ink density, and color profile calibration, then verify film compatibility with your curing method. DTF printing troubleshooting requires vigilance at the source—the printed image must be precise before powder application.
Beyond the printer, the film, adhesive powder, and curing step all influence final results. Use test swatches to compare powder adhesion and curing times, adjust film handling, and validate that the printer’s output lines up with the transfer sheet. This holistic approach aligns with the recommended DTF transfer troubleshooting guide and helps solve persistent DTF transfer problems.
DTF transfer troubleshooting guide: preventive SOPs, testing, and continuous improvement
A preventive approach reduces DTF transfer problems by establishing standard operating procedures and routine testing. Create SOPs for design validation, print settings, powder application, curing, and transfer parameters. Regularly test with swatches and batch controls to catch deviations before they impact production, which is a central tenet of the DTF transfer troubleshooting guide.
Keep a living log of fabric types, films, powders, and results, and review data after every job. Implement staff training and cross-checks to minimize human error. With ongoing evaluation and documentation, you’ll improve consistency, reduce waste, and accelerate future DTF transfers troubleshooting when new materials or designs are introduced.
Frequently Asked Questions
DTF transfers troubleshooting: what are the most common DTF transfer problems and quick fixes?
DTF transfers troubleshooting focuses on the main failure points: print quality, curing, heat pressing, adhesive performance, and fabric compatibility. For DTF transfer problems, start by verifying print quality and color profile, ensuring the powder cures correctly and the film/adhesive suit the fabric. Re-test with a short pre-press and a controlled sample to determine whether the issue is printing or during transfer. Then adjust heat press settings and transfer time to resolve the problem.
DTF heat press issues affecting results: how can I troubleshoot?
DTF heat press issues are a common source of inconsistent results. To troubleshoot, verify platen temperature with a reliable thermometer, ensure even pressure distribution, and use a barrier sheet to equalize pressure. Follow the manufacturer’s time and temperature guidelines and test with a simple two-layer setup. If results remain inconsistent, recheck the garment fibers’ adhesion and adjust as needed.
How to fix DTF transfers when the print fades, halos, or shows white specks?
To fix DTF transfers, start by analyzing printing and curing steps: ensure the print is cured thoroughly, apply adhesive powder evenly, and confirm powder melting during curing. Verify film compatibility with the fabric and adjust pre-press, powder dosage, and curing temperature/time. Re-test with a controlled sample to confirm improved color, reduced halos, and fewer specks.
DTF transfer troubleshooting guide: what is the recommended step-by-step workflow?
DTF transfer troubleshooting guide: adopt a repeatable workflow like Step 1 validate design, print quality, and color profile; Step 2 pre-press fabric; Step 3 powder adhesion and curing; Step 4 transfer settings; Step 5 peel method and cooldown; Step 6 post-press inspection and washing; Step 7 material and equipment auditing; Step 8 continuous improvement and documentation. This structure targets the core variables—print quality, curing, heat press settings, adhesive performance, and fabric compatibility—to minimize DTF transfer problems.
DTF printing troubleshooting: what steps help prevent DTF transfer problems?
DTF printing troubleshooting emphasizes routine testing and consistency. To prevent DTF transfer problems: run routine test swatches with every batch, calibrate the heat press regularly, ensure film and adhesive are compatible with the fabric type, control humidity and store powders properly, and maintain detailed SOPs for print settings, powder application, curing, and transfer parameters. This proactive approach reduces the likelihood of DTF transfer problems.
| Section | Key Points |
|---|---|
| What is a DTF transfer? | Direct-to-film involves printing on a PET film, applying adhesive powder, curing, and transferring the image to fabric with a heat press. Potential failure points include the printer, film, powder, heat press, and fabric. Understanding the flow helps identify where things go wrong. |
| Common problems and fixes | 1) Fading colors or dull image after pressing — Causes: under-curing, insufficient powder coverage, or film fabric incompatibility. Fix: cure thoroughly, ensure even powder, use compatible film and adhesive; test with a short pre press and verify the color profile. 2) Cracking, peeling, or lifting edges — Causes: insufficient heat or pressure, poor adhesion. Fix: increase press time, adjust temperature according to guidelines, use a barrier sheet, ensure the garment fibers absorb the adhesive and use the correct adhesive powder grade. 3) White specks, halos, or opaque patches — Causes: powder not melted or uneven. Fix: reapply a thin, even powder layer; ensure the powder heats evenly during curing; avoid over or under application. 4) Inconsistent color or image shifting — Causes: misalignment between printed film and fabric; incorrect transfer time. Fix: verify machine registration, use a reliable jig or alignment method, standardize transfer time and temperature across batches. 5) Film remains on garment after peeling — Causes: insufficient curing or wrong combination of temperature and time. Fix: adjust curing time, use a slightly higher temperature for a shorter time, ensure film is fully cooled before peeling. 6) Transfer stuck to the paper or backing — Causes: poor adhesion or peeling before adhesive cures. Fix: ensure the adhesive powder is properly applied, press at the correct temperature and pressure, and use a high quality transfer film. 7) DTF heat press issues causing inconsistent bonds — Causes: pressure distribution or platen temperature errors during pressing. Fix: recalibrate the heat press, test with a simple two layer setup, and verify that top and bottom platens heat evenly. |
| Troubleshooting workflow (8 steps) | Step 1: Validate the design, print quality, and color profile. Step 2: Prepare the fabric and pre press. Step 3: Powder adhesion and curing. Step 4: Transfer settings: temperature, time, and pressure. Step 5: Peel method and cooldown. Step 6: Post-press inspection and washing. Step 7: Material and equipment auditing. Step 8: Continuous improvement and documentation. |
| Preventive tips to minimize DTF transfer problems | – Use the right film and adhesive for each fabric type. – Control humidity and store films and powders in a cool, dry place. – Regularly service and calibrate your heat press, including temperature sensors, pressure distribution, and platen flatness. – Run routine test swatches with every new batch, film lot, or fabric type. – Create standard operating procedures for each design, including print settings, powder application, curing, and transfer parameters. – Train staff or collaborators to follow the same steps to ensure consistency and reduce human error. |
Summary
DTF transfers troubleshooting is a skill that improves with practice and systematic testing. By focusing on core variables—print quality, powder adhesion, curing, heat-press settings, and fabric compatibility—you can fix common problems quickly and avoid recurring issues. Use a structured troubleshooting workflow, maintain clear documentation, and run regular tests to ensure reliable results. With deliberate practice and adherence to best practices, you can achieve consistent, vibrant DTF transfers that withstand washing and wear, and you’ll find that many DTF transfer problems can be resolved with quick, repeatable fixes. This approach embodies effective DTF printing troubleshooting and empowers you to produce high-quality garments with confidence.